Option 1: Manual Setup
1
Wait for Setup
After your order is complete, you’ll receive an email with your VPS login credentials. Wait at least 10 minutes to ensure Windows is fully ready.
2
Install the Windows App
Open the Mac App Store, search for “Windows App”, and install it.
Direct Link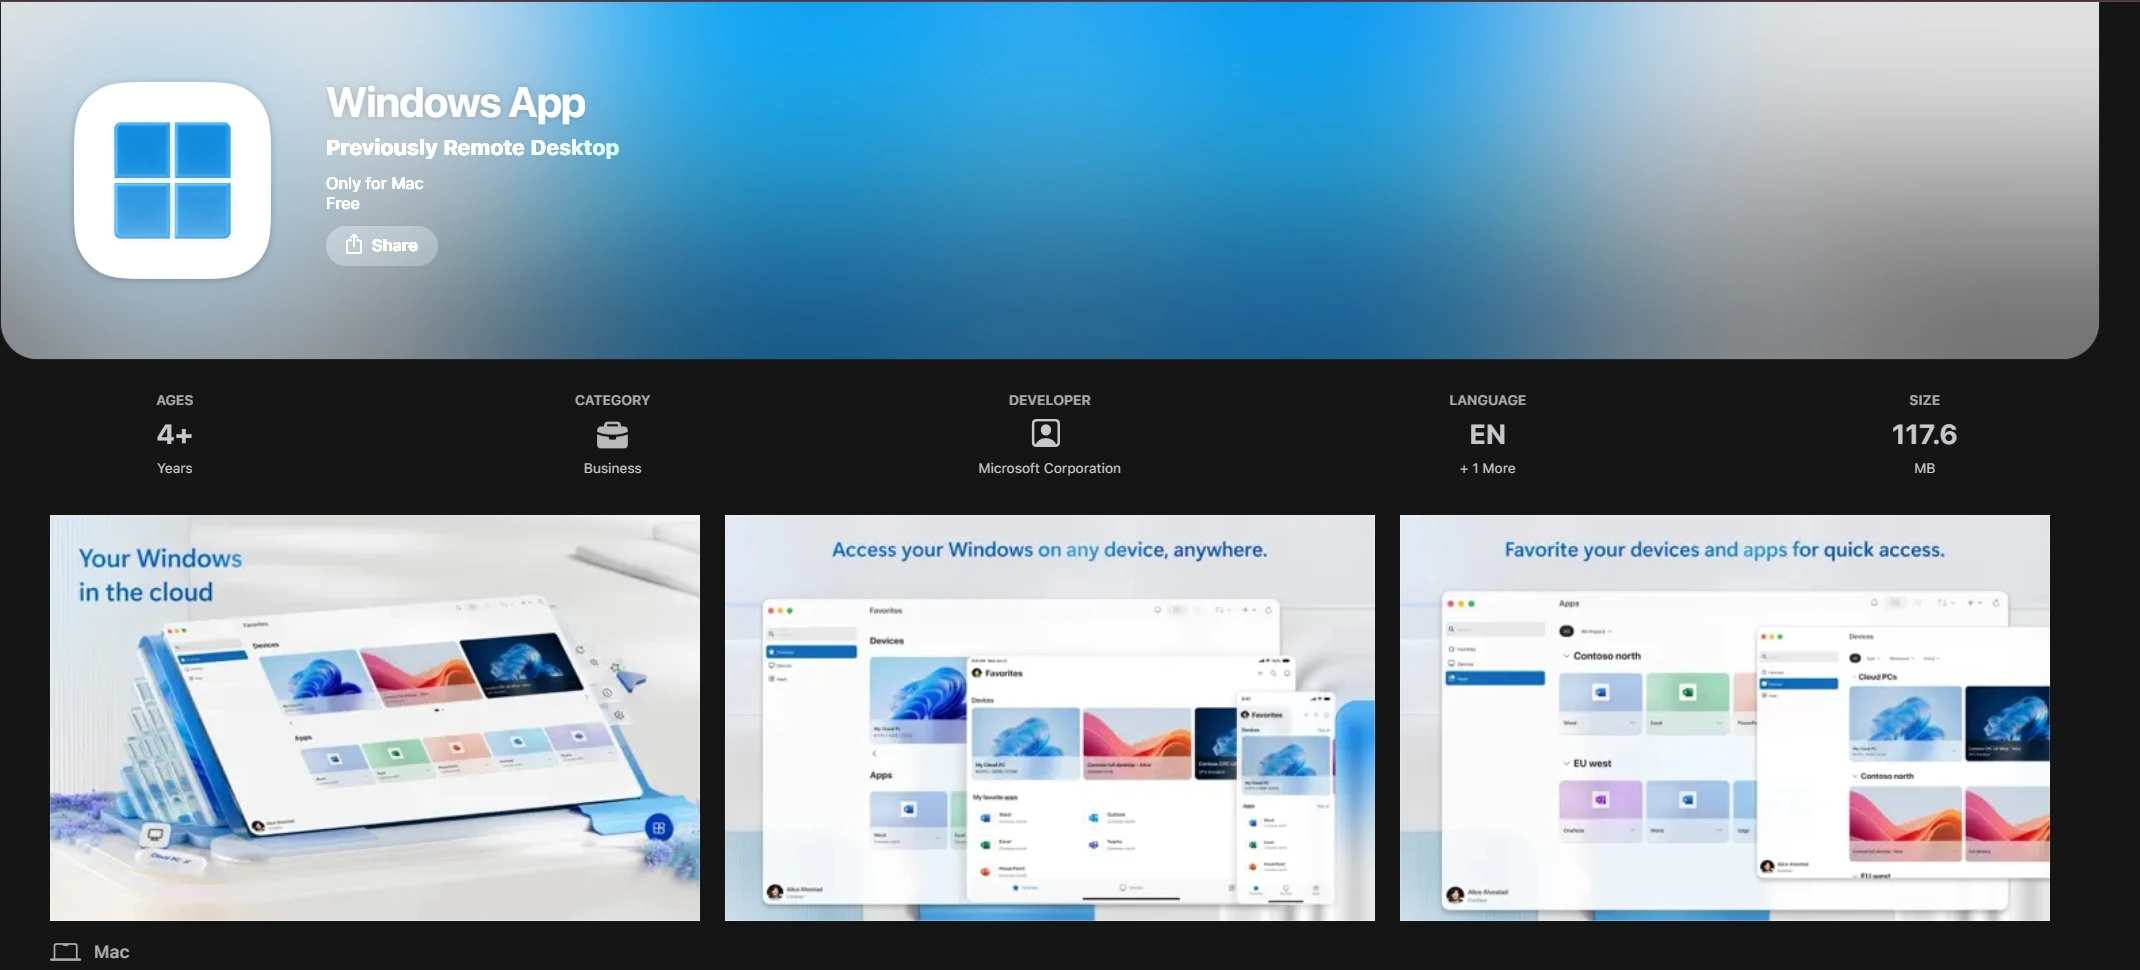
Direct Link
Windows App (Previously Remote Desktop) on the Mac App Store
3
Open the App
Launch Windows App from your Applications folder or Spotlight.
4
Add a PC
Click the + dropdown → Add PC.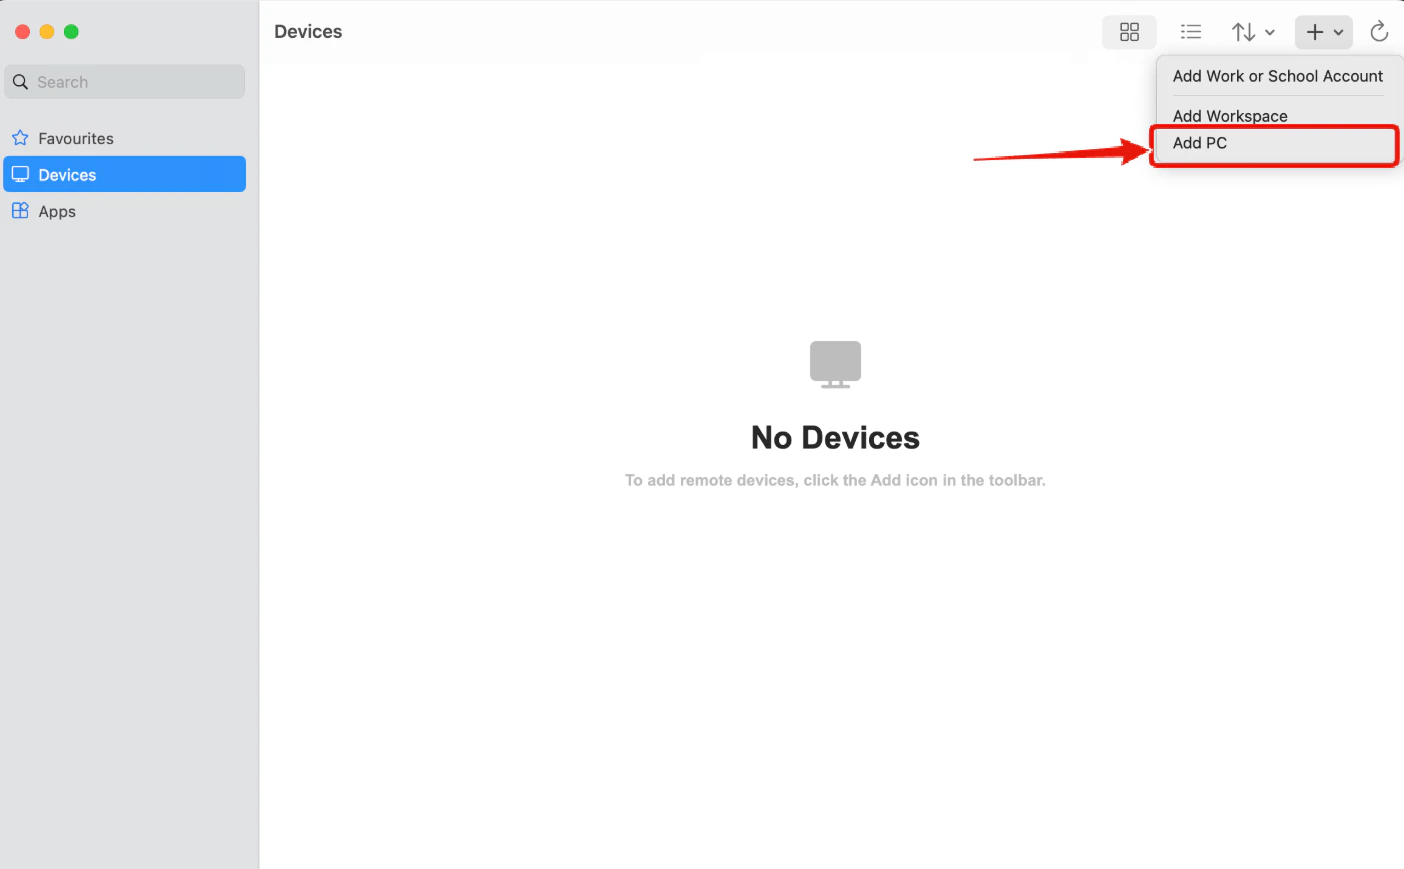
Click the + dropdown and choose Add PC
5
Enter VPS IP Address
In Host name or IP address, enter your VPS IP exactly as shown in the email.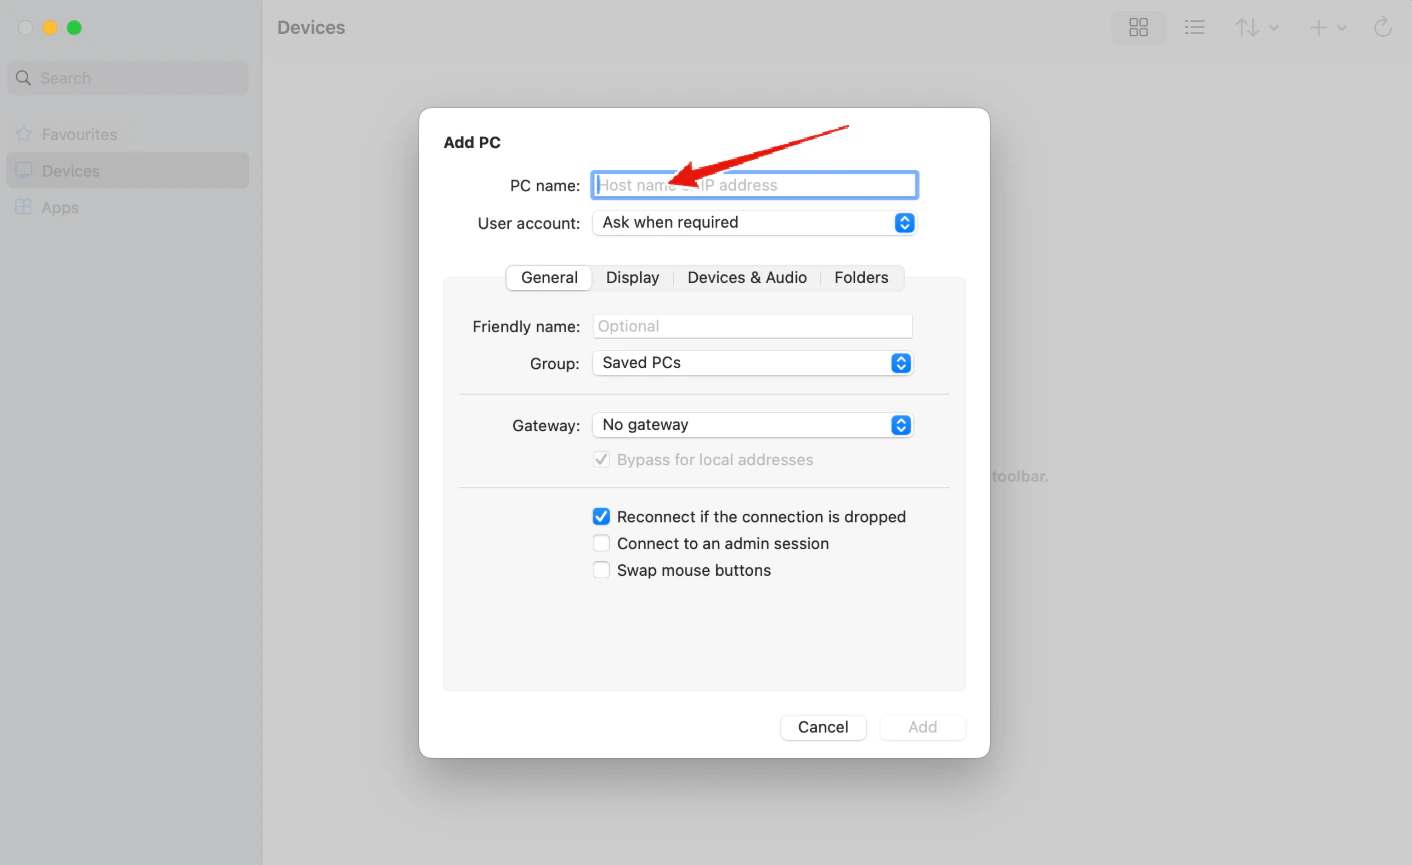
Enter your VPS IP address into the PC name field
6
Add User Account
Under User account, click Add user account:
- Username:
Administrator - Password: (copy exactly from email)
Click Continue.
7
Optional: Add Friendly Name
In Display name, enter a nickname (e.g.,
NYCServers VPS).8
Connect
Return to the main screen. Double-click the new PC shortcut.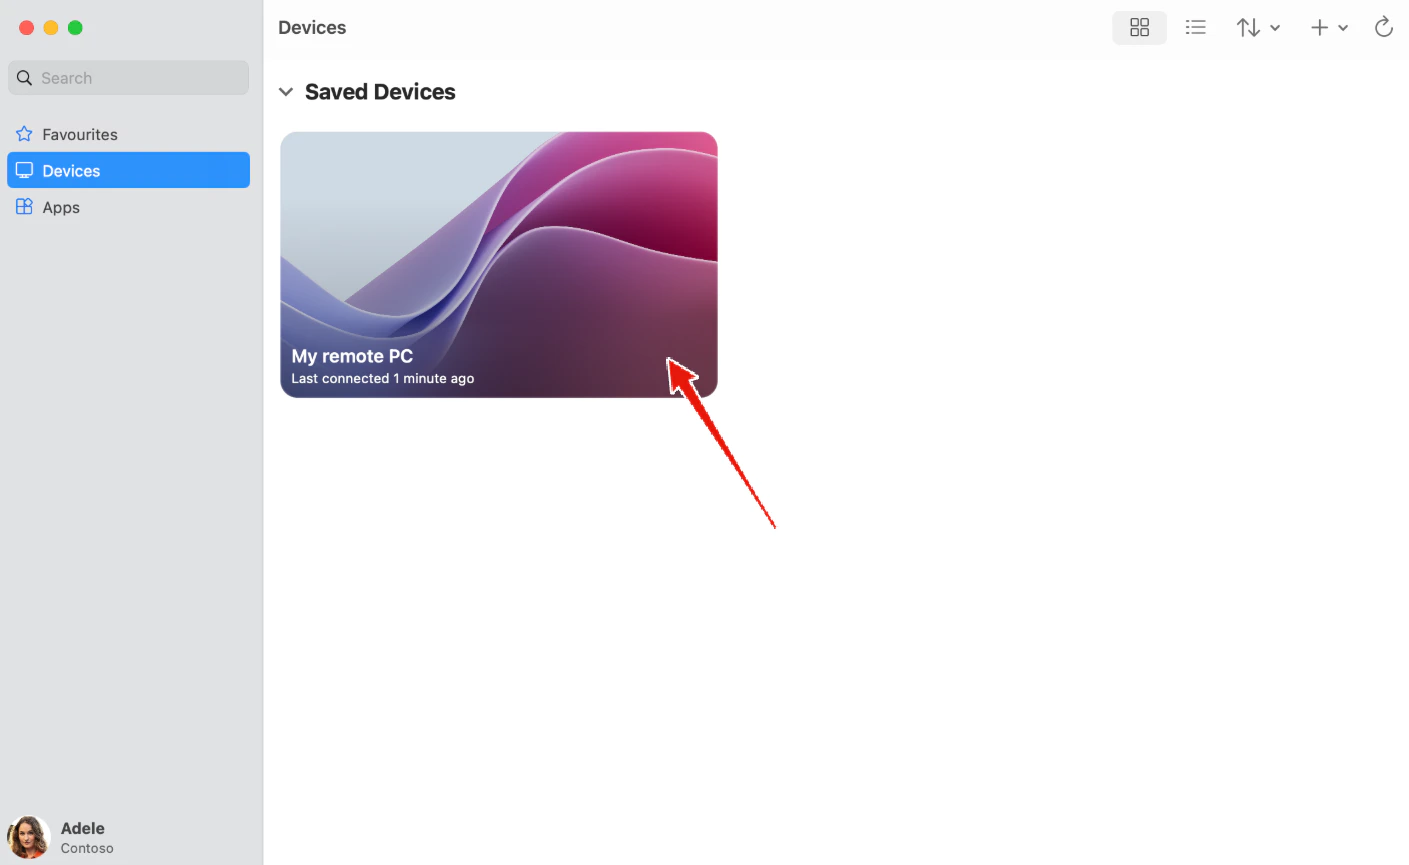
Double-click your saved PC card to connect
9
Accept Certificate
If prompted, click Continue to accept the certificate.
10
Access Your Desktop
You’re connected! The VPS desktop will appear in a window.
Option 2: Quick Connect with .RDP File
1
Download the File
Use the “Quick Connect Shortcut” download link in the VPS welcome email to download the .RDP file.
2
Open the .RDP File
Double-click the downloaded file. It will open in Windows App.
3
Enter Password
When prompted, enter your VPS password from the email.
4
Accept Certificate
Click Continue if a certificate warning appears.
5
Connect
The VPS desktop will launch automatically.