How to Cancel Your Service
1
Access Service Overview Page
Inside of the client portal, access the Service Overview Page to see a list of your services.
2
Select Service For Cancellation
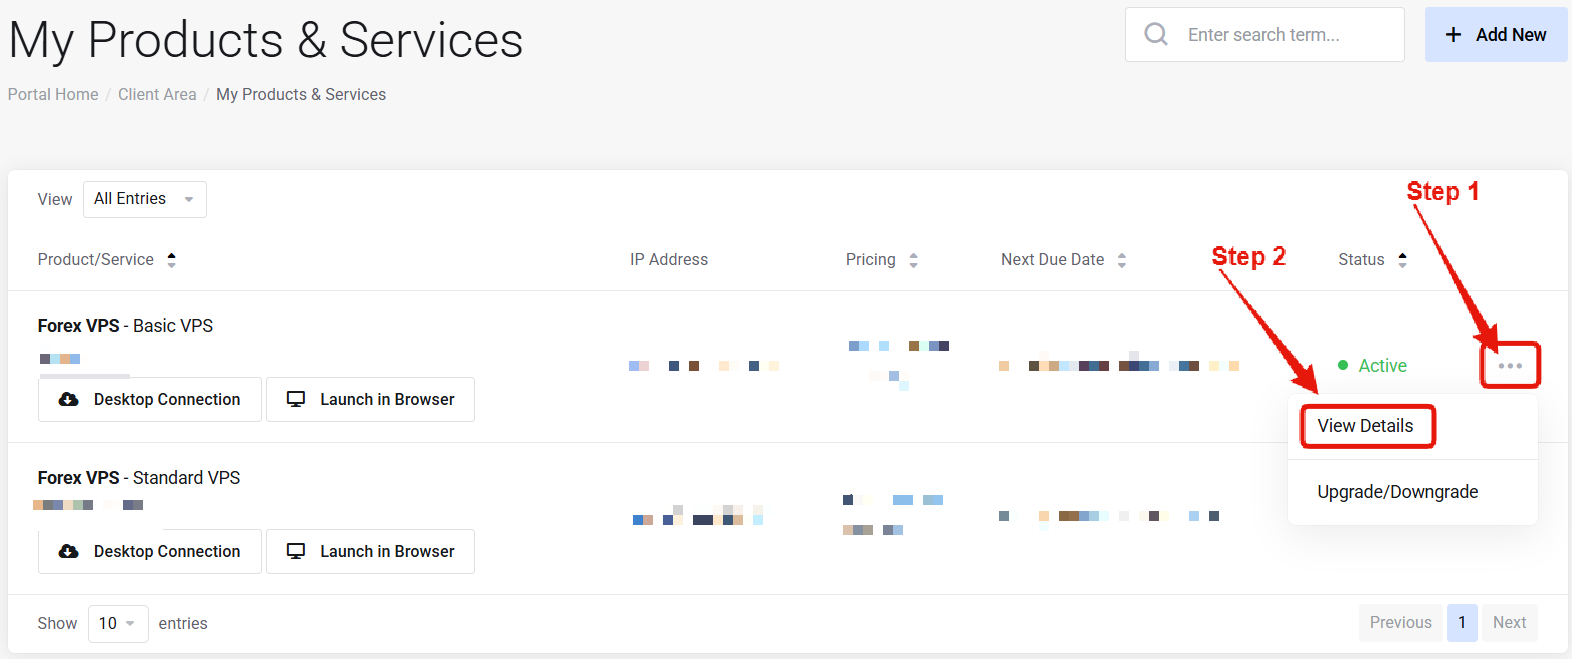
3
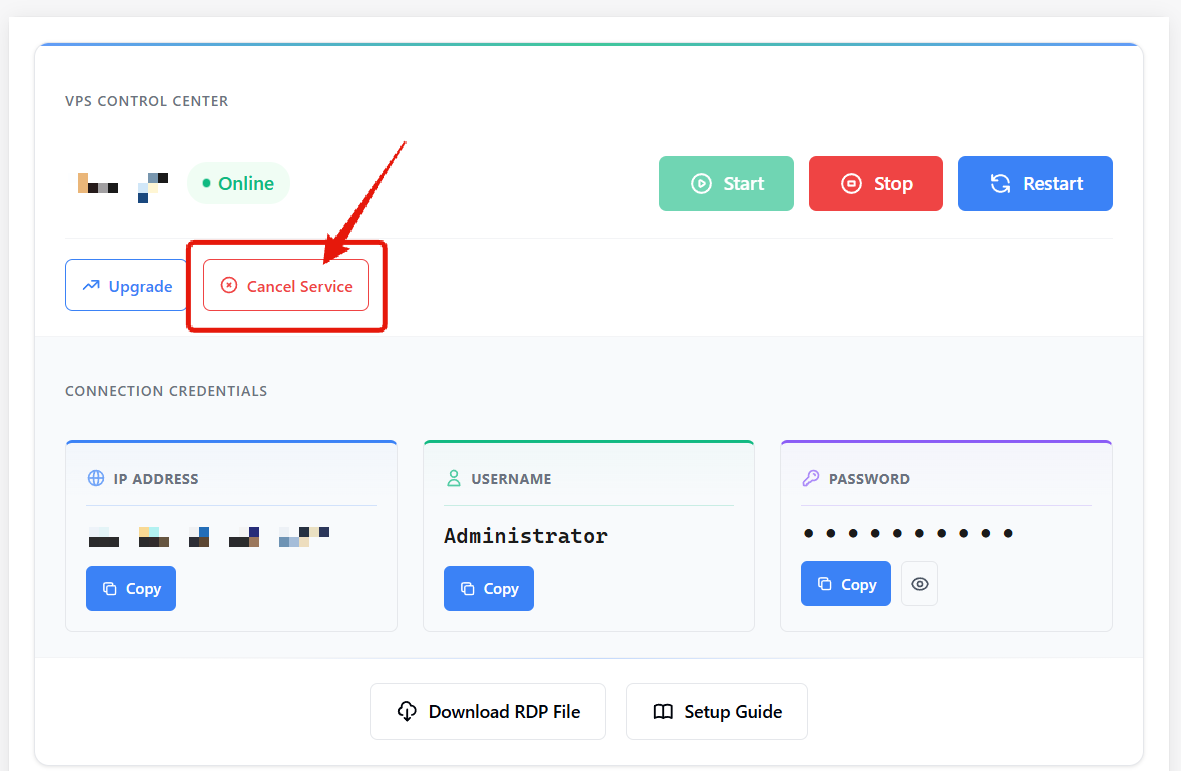
Click Cancel Service Button
4
Complete & Submit Cancellation
Complete the cancellation form, and click “Request Cancellation”.
All cancellations are completed at the end of the current billing cycle. Your service will remain online and usable until then.
Cancellation Policies
- Automatic Renewal: All services renew automatically at the end of the billing cycle, unless a cancellation request has been submitted using the steps above.
- Timing: Cancellations must be submitted before the invoice due date to stop charges.
- Cancellation Period: After submitting a cancellation, the service remains active and usable until the end of the current billing cycle.