

This guide is for clients who have selected Ubuntu as their VPS operating system. If your VPS is running Windows, see the Windows VPS connection guide instead.
Option 1: Built-in OpenSSH (PowerShell)
Windows 10 (build 1809+) and Windows 11 ship with OpenSSH Client enabled by default — no installation needed. You can connect using the built-in PowerShell or Windows Terminal.1
Open PowerShell
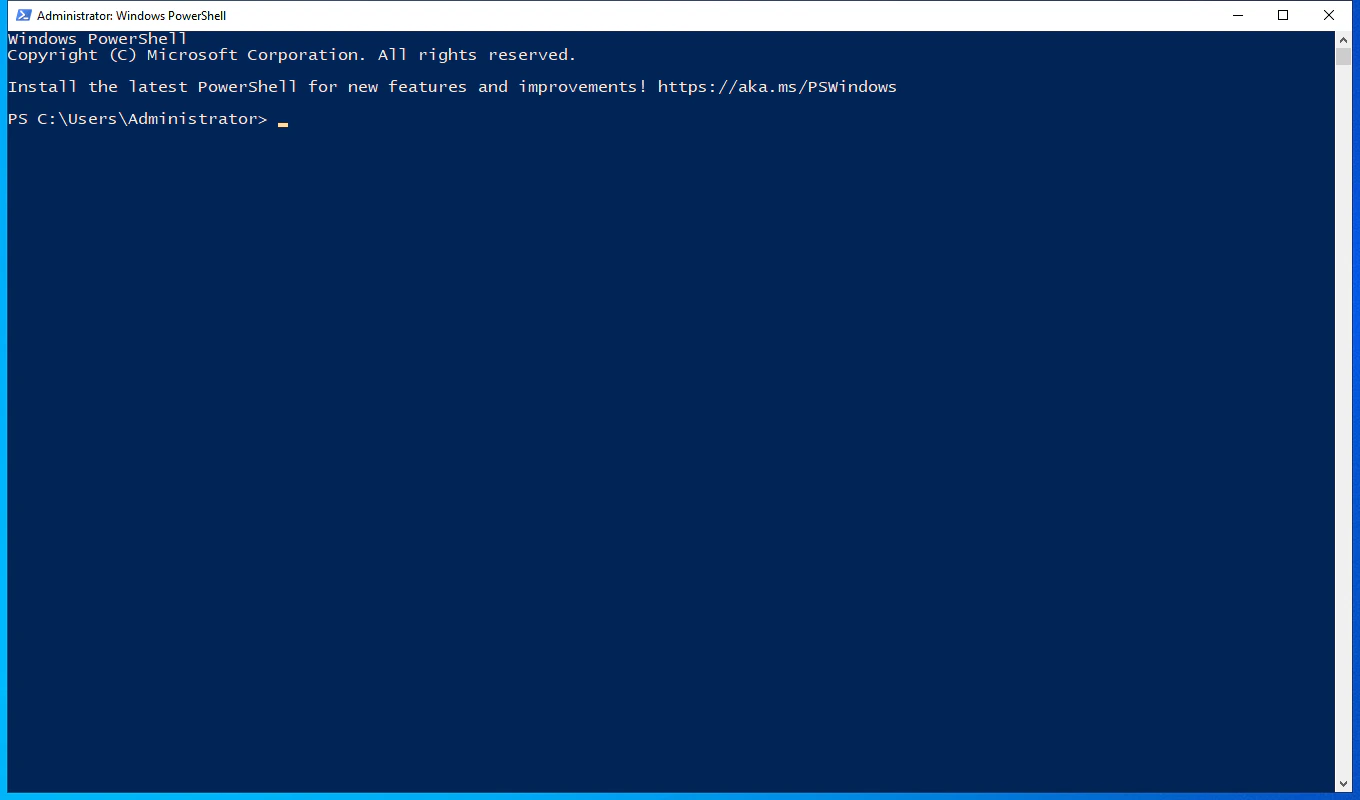
PowerShell (or Terminal on Windows 11), and press Enter to launch it.2
Run the SSH command
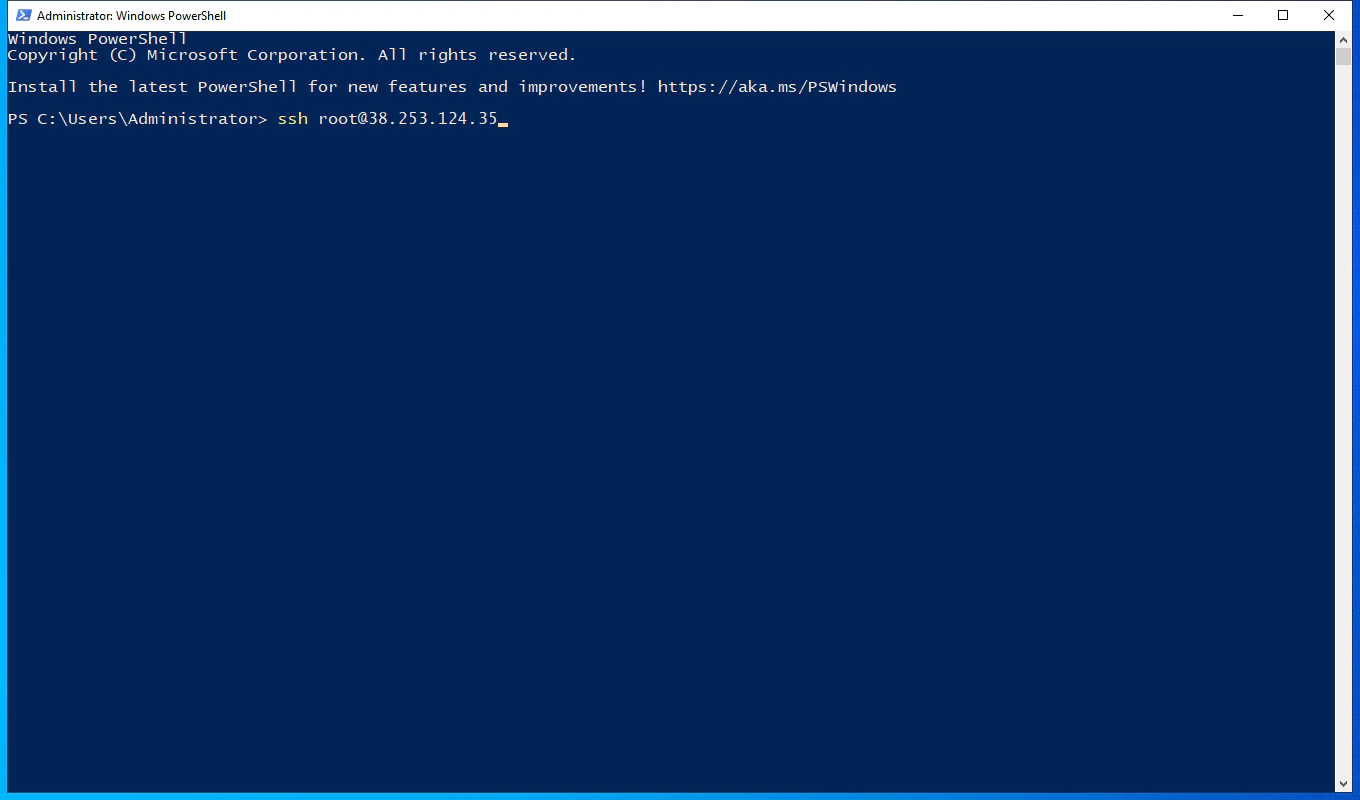
YOUR_VPS_IP with the IP address from your welcome email, then press Enter:3
Accept the host key fingerprint
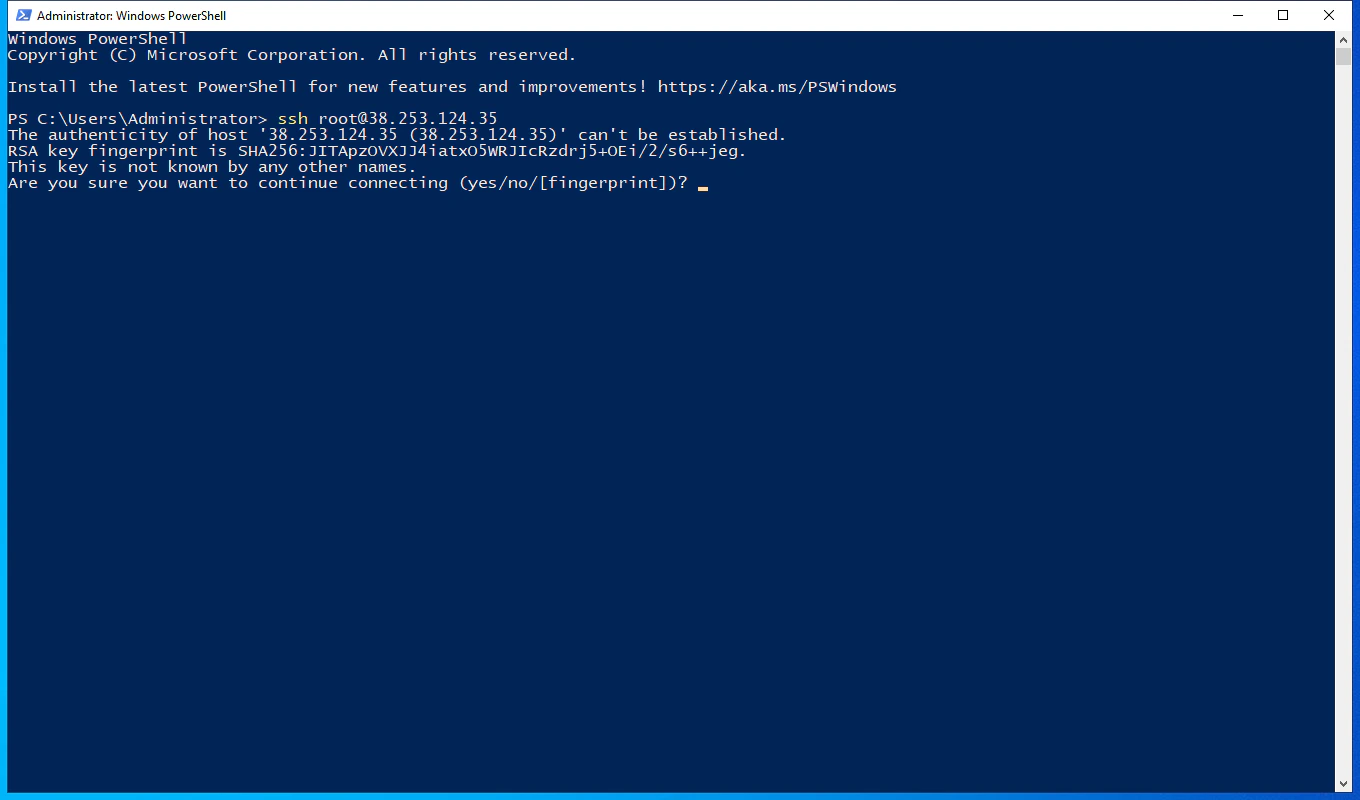
yes and press Enter to save it to your local trust list.4
Enter your password
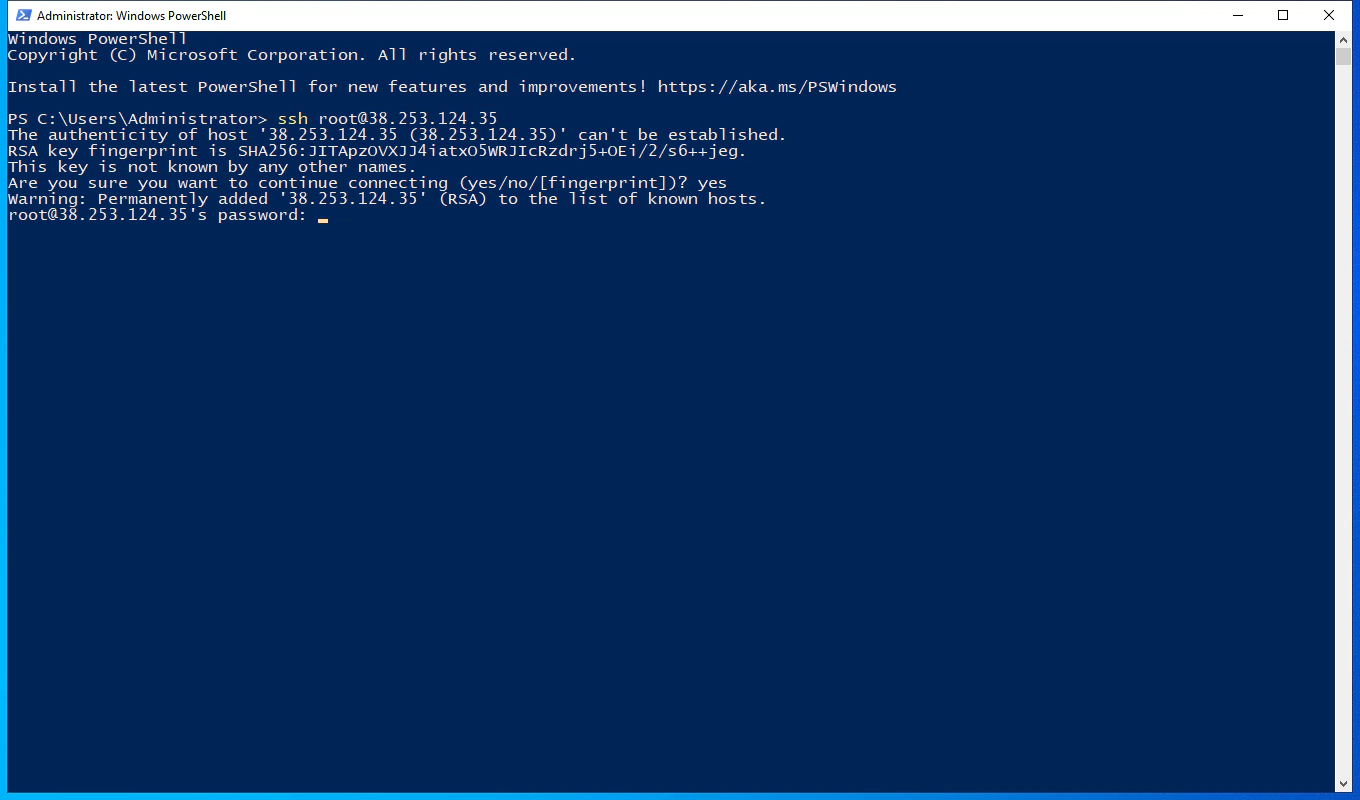
5
Connected
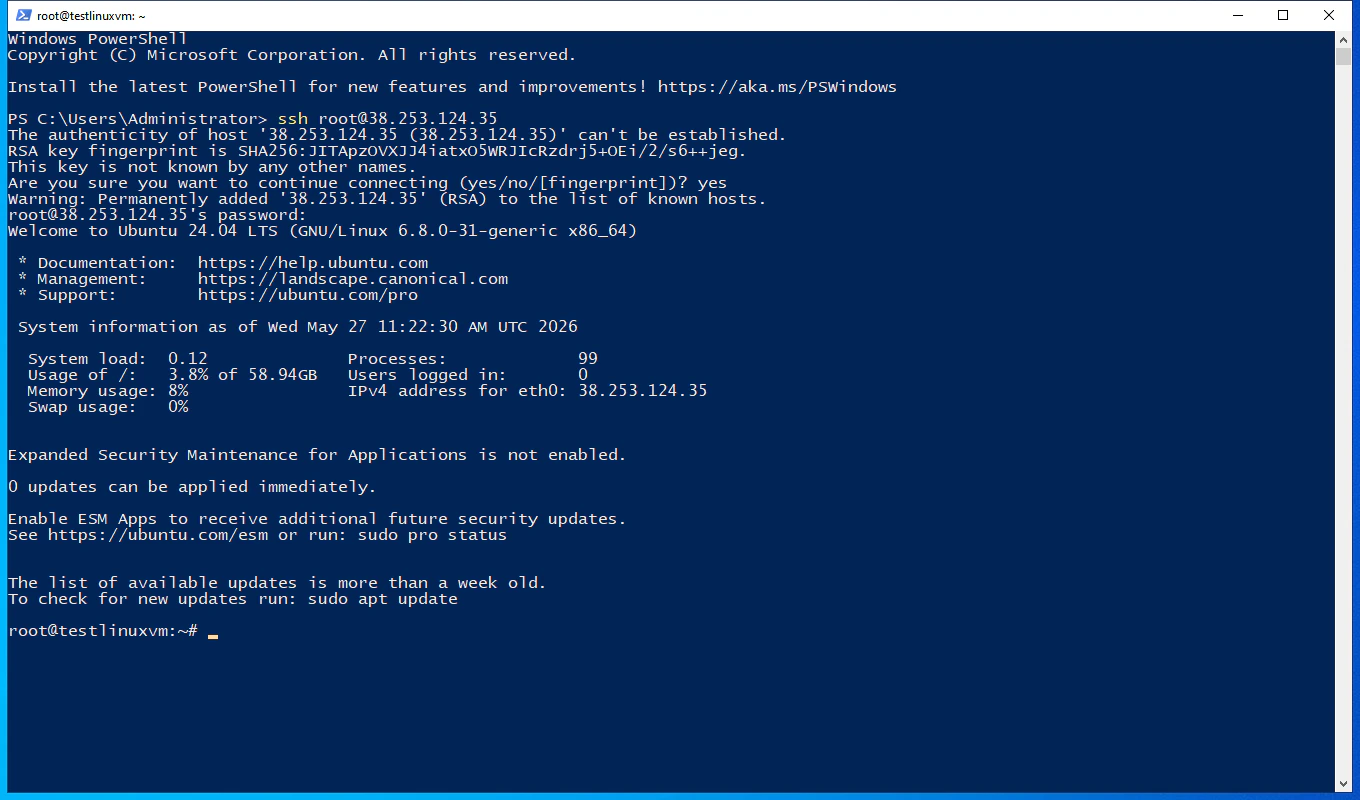
root@<hostname> and the prompt becomes a Linux shell (#). To disconnect, type exit and press Enter.Option 2: PuTTY
If you prefer a graphical client with saved session profiles, PuTTY is a popular free SSH client for Windows.1
Download PuTTY from the official site
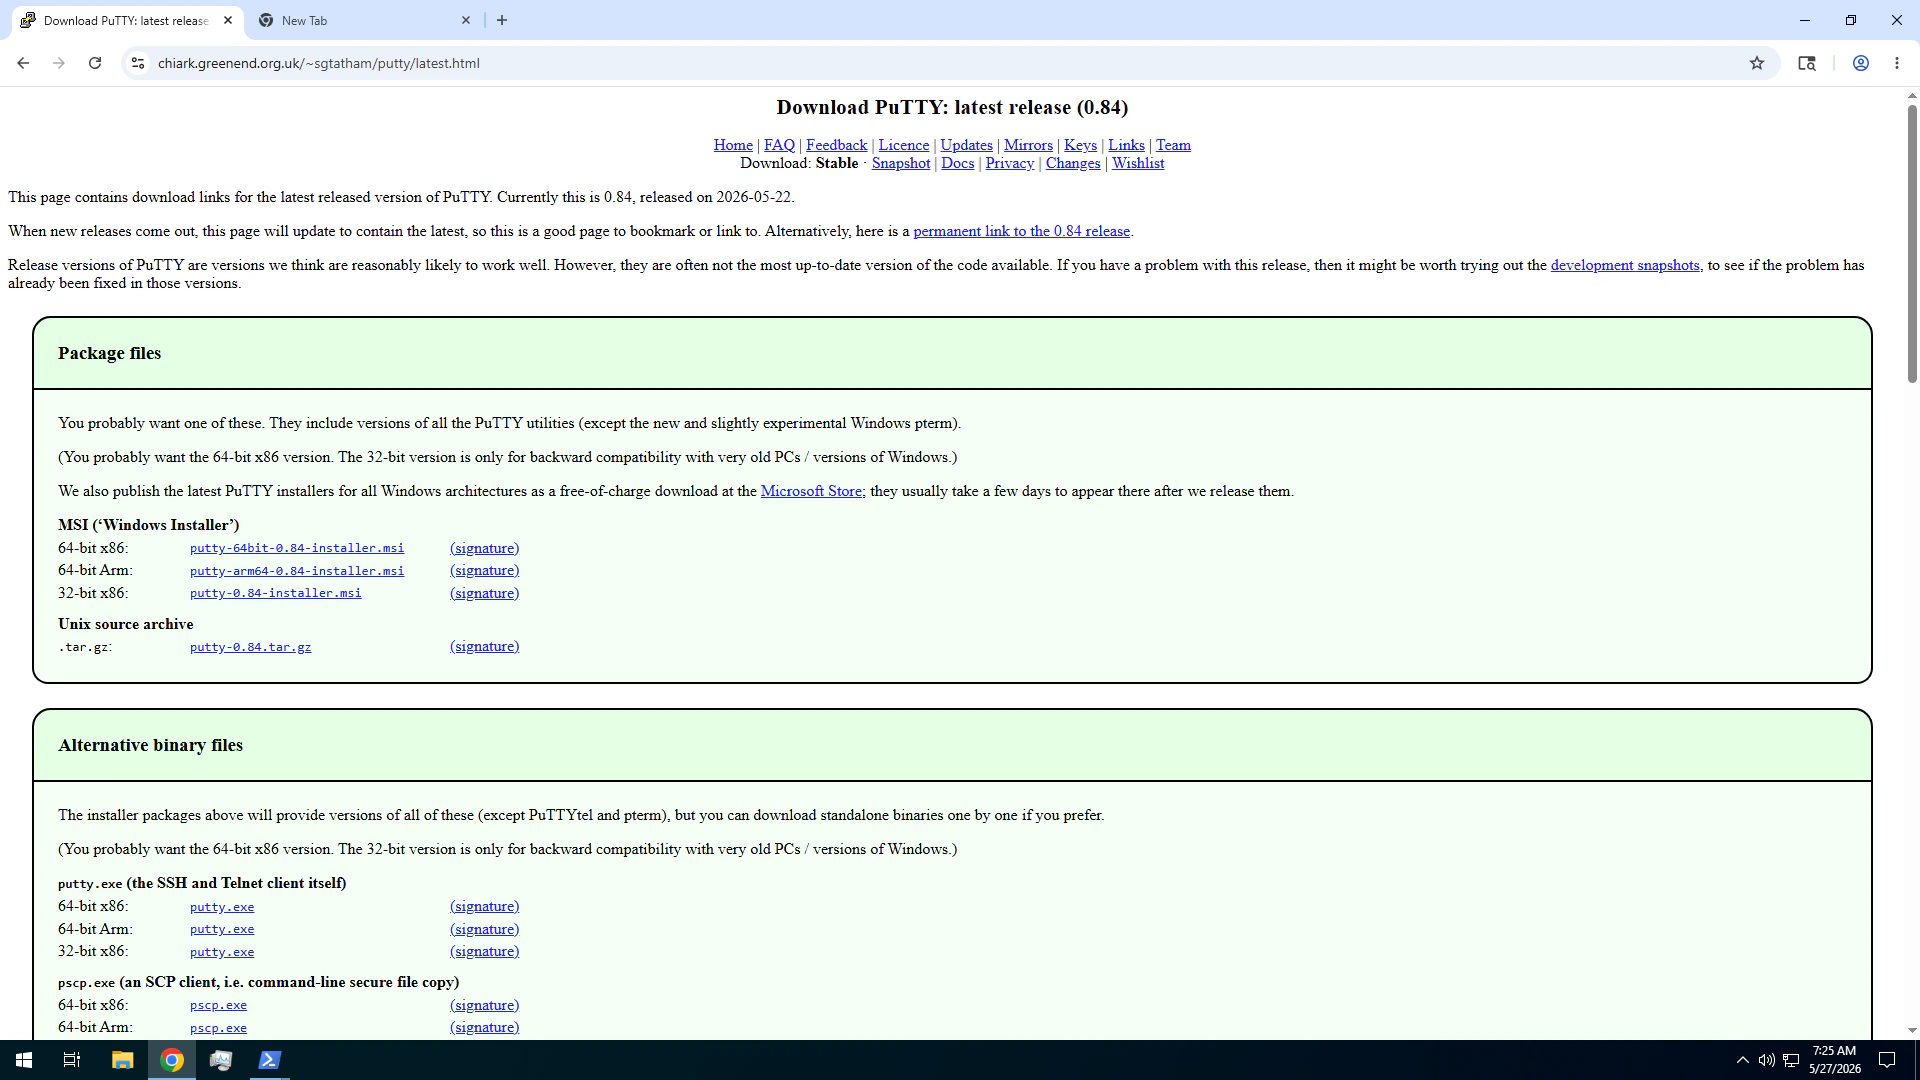
putty-64bit-X.XX-installer.msi. The 32-bit version is only for very old PCs.2
Run the installer
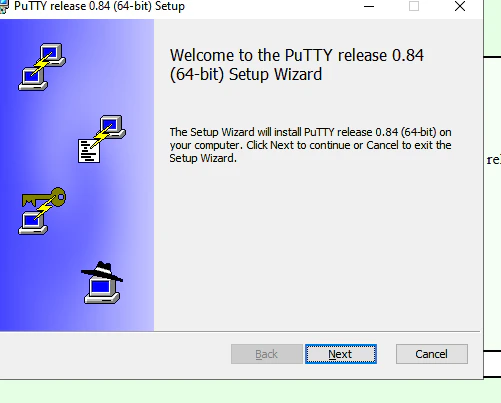
3
Launch PuTTY
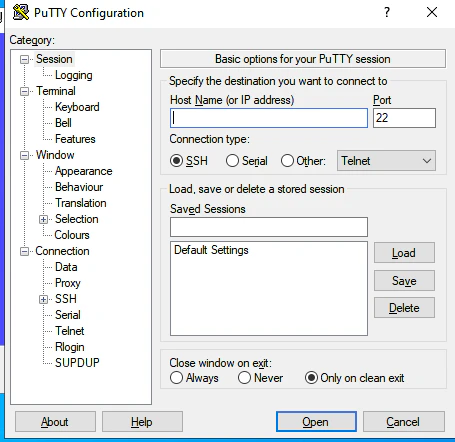
PuTTY, and launch it. The PuTTY Configuration window opens to the Session category.4
Enter your VPS IP
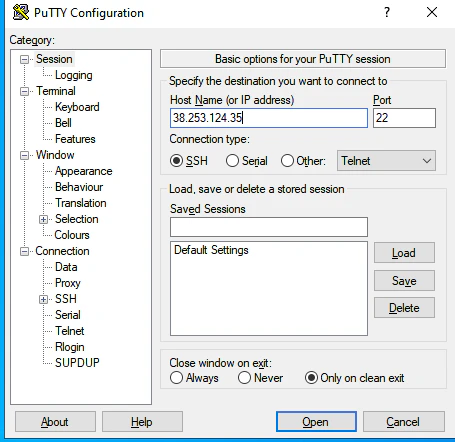
5
Accept the host key
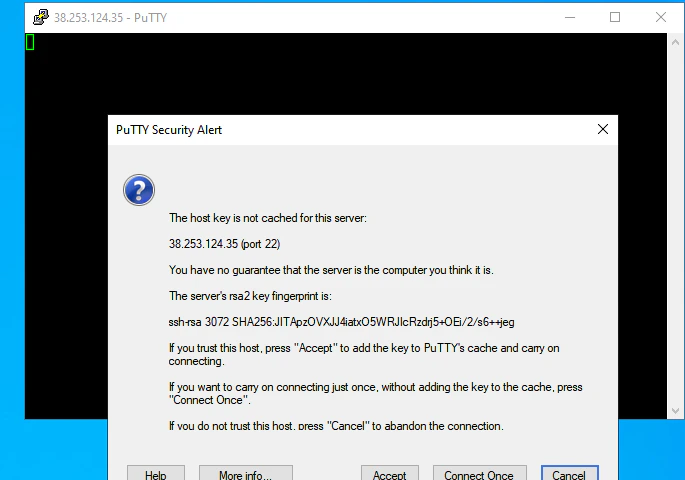
6
Log in as root
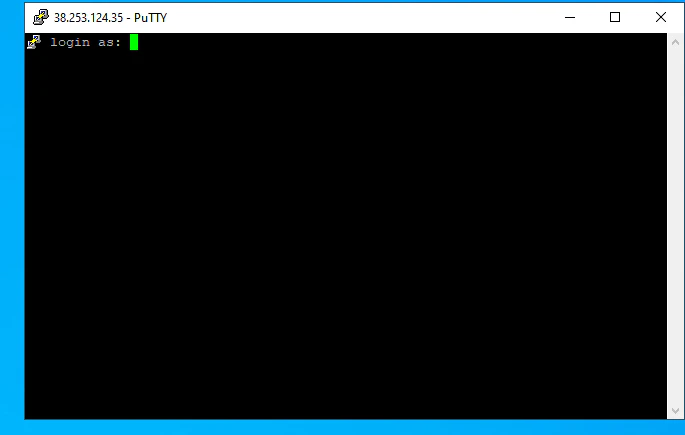
login as:. Type root, press Enter, then enter your VPS root password when prompted.7
Connected
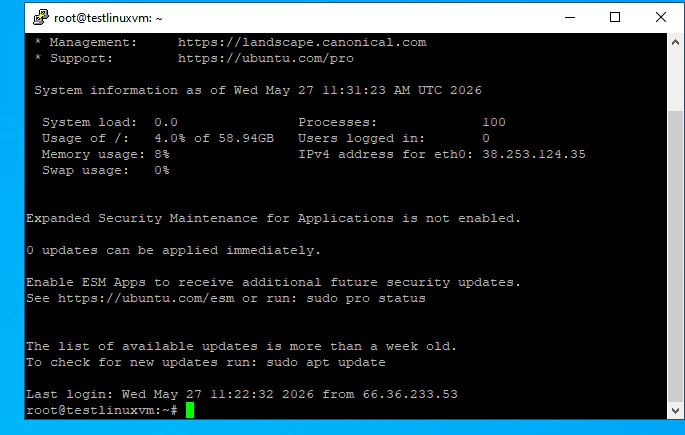
root@<hostname> and the prompt becomes a Linux shell (#). To disconnect, type exit and press Enter.Troubleshooting
Connection refused or timeout
Connection refused or timeout
Wait at least 5–10 minutes after receiving your welcome email — the Linux installation finishes provisioning during that window. If the problem persists, double-check the IP from your email matches what you typed, and confirm your local network does not block outbound port 22 (some corporate or hotel networks do).
Password is rejected
Password is rejected
Copy your password directly from the welcome email rather than retyping it. In PuTTY, right-click inside the terminal to paste — Ctrl+V does not work at the password prompt. If the password still fails, you can reset it from the client portal.
"REMOTE HOST IDENTIFICATION HAS CHANGED" warning
"REMOTE HOST IDENTIFICATION HAS CHANGED" warning
This warning appears if your VPS was reinstalled or its host keys regenerated. After confirming the server is genuinely yours (e.g. you just triggered a reinstall), remove the cached key:
- OpenSSH: run
ssh-keygen -R YOUR_VPS_IPin PowerShell, then reconnect. - PuTTY: click Accept on the new fingerprint warning that appears on next connect.
Slow or laggy connection
Slow or laggy connection
SSH responsiveness depends on the physical distance between you and the VPS. Use the Latency Checker to verify you picked the region closest to you. For long-running interactive sessions, consider installing
tmux or screen on the VPS so the session survives brief network drops.